Scores are our own editorial assessment, not a product rating from reviews or testing. We do not print prices — every button goes to the current one on Amazon. #ad
The order is the whole skill
The short answer
Brush out completely, bathe, dry to the skin, brush again, then clip. Clipping a dirty, damp or tangled coat is the single biggest cause of a bad home groom: the blade clogs, pulls, overheats and leaves lines. The clipping itself is mostly just keeping the blade flat and moving.
This page is for you if
You own a clipper, or are about to, and your dog’s coat needs shortening. A doodle, a poodle, a Bichon or any coat that keeps growing.
You are on the wrong page if
Your dog has a double coat (Husky, Shepherd, Golden, Samoyed) or a short coat. Neither should be clipped at all — read the double coat page first.
Before you switch anything on
Two decisions are made before the clipper comes out, and both are easy to get wrong.
The blade. A #4F or #5F for a body, every time, on a first groom. Leaving more coat on means small errors do not show, and you can always take another pass. A #10 on a body is a shave — see the blade size chart, and note that the numbering runs backwards.
Where the dog stands. A dog that can wander is a dog you will nick. A grooming table with an arm is the biggest single improvement available to a beginner, and more useful than any clipper upgrade. Failing that, a non-slip surface at waist height with a second person holding the dog.
The procedure
01
Brush out completely
Brush and comb to the skin everywhere. If a steel comb will not pass from skin to tip, that section is not ready to clip.
02
Bathe and dry thoroughly
Clean, dry coat only. Dirt dulls blades within one groom and a damp coat clogs them and finishes ragged. Dry to the skin, not just the surface.
03
Brush again
Drying lifts the coat and reveals what the first brushing missed. Two minutes here saves the whole groom.
04
Lay everything out first
Blade fitted, oil to hand, second blade ready, scissors and comb out. Never leave a looped dog on a table to fetch something.
05
Clip the body, with the coat
Start at the shoulder, work back along the flank in the direction the coat grows. Blade flat, steady walking pace, each pass overlapping the last by about a third.
06
Check blade temperature every few minutes
Touch it to your forearm. Too hot to hold means too hot for skin. Oil the teeth every ten minutes of running.
07
Awkward areas last, with the right tool
Sanitary areas and belly with a #10 and the skin held flat. Feet, face and between toes with a trimmer or scissors.
08
Comb through and tidy
The comb finds the uneven patches your eye misses. One light second pass fixes them.
Everything laid out before the dog goes on the table. Step four exists because of what happens when it is skipped.
Direction of travel
Clip with the coat — in the direction the hair grows — for your first several grooms. It leaves the length the blade is rated for and is far more forgiving. Clipping against the coat cuts noticeably shorter than the blade number suggests and shows every inconsistency in your pressure, which is why professionals use it deliberately and beginners discover it by accident.
Keep the blade flat to the skin rather than tipped onto its corner. A tipped blade digs in, which is both where the shaved stripes come from and where most clipper nicks happen.
The three mistakes
Clipping a coat that was not properly brushed and dried. Everything downstream goes wrong from here: the blade clogs, drags, heats, and the finish shows lines. Three of the eight steps above are preparation for exactly this reason.
Using too short a blade. Usually a #10 on a body, usually because of the backwards numbering. The coat does not grow back for weeks and on some coats it grows back differently.
Doing too much in one session. A first groom on a dog that has never been clipped should probably be a body and nothing else. Stop while the dog is still coping; the feet can wait for tomorrow. A dog that learns grooming ends badly will fight it next time.
Stop if you find a mat you cannot comb through
A mat solid enough that a comb will not pass between it and the skin cannot be brushed out, and it cannot be clipped through. It has to be clipped underneath, with a short blade worked between the mat and skin you cannot see. That is a real skill and a real risk of cutting the dog. If the coat is matted over a large area, this is a groomer’s job rather than a first-timer’s — see clipping matted hair.
What to remember
→Brush, bathe, dry, brush again, then clip. The order is the skill.
→Start with a #4F or #5F body blade. Leaving coat on hides mistakes.
→Clip with the coat, blade flat, overlapping passes, steady pace.
→Test blade heat on your own forearm every few minutes; oil every ten.
→A table and arm helps a beginner more than a better clipper does.
→End the session before your dog wants it to end.
The picks in full
Every pick, in order
01
A first detachable-blade clipper
Wahl KM Inspire
The A5 blade standard in a lighter, quieter body - the forgiving end of the proper-clipper category.
Corded brushless detachable-blade clipper
Speeds
Two-speed
Motor
Brushless, corded
Blade system
Detachable A5
Running temperature
Stays cool through dense coat work
For a first clipper, weight and noise matter more than people expect: you will be holding it for an hour and your dog has never heard it before. This is the easier machine to learn on while still being a real clipper with a detachable-blade system, so your blades carry forward if you upgrade later.
Ease for a beginner8.5
Torque under load8.0
Blade system9.5
Noise8.0
Value8.5
Overall8.5 / 10
What it gets right
+The brushless motor is the point: it pushes through matted coat and dense undercoat without bogging down
+Runs cool on long sessions, which is what actually causes clipper burn on a big dog
+Detachable A5 blades, so it shares the blade set with Andis and Oster clippers
What it gets wrong
−Priced like a professional tool because it is one
−Corded only
−Overkill for a single small dog on a monthly tidy-up
Who should skip itSkip it unless you are regularly working through dense or matted coat — a lighter clipper is easier to handle for everything else.
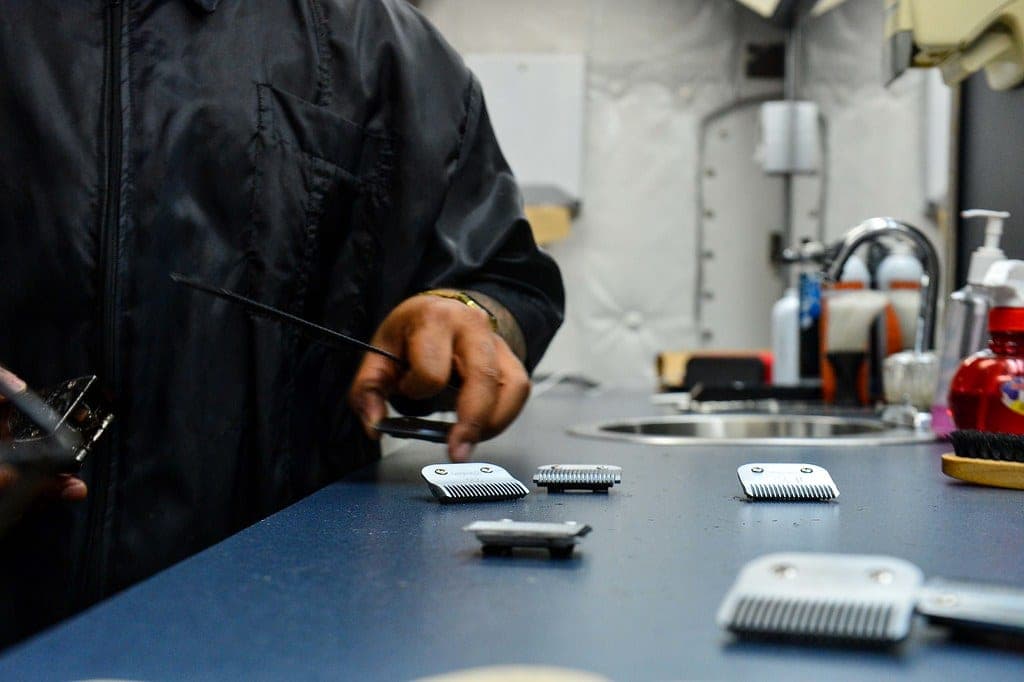
Clippers ship with one blade and one blade is not a kit. A #4F leaves enough coat that small mistakes do not show, which is exactly what a first groom needs, and a #10 handles the sanitary areas the body blade should not go near. Buy these two and ignore the rest of the chart until you have done a few grooms.
Cut quality9.5
Beginner forgiveness8.5
Durability9.0
Cross-brand fit9.5
Value7.5
Overall8.8 / 10
What it gets right
+The blade range is the whole reason to own a detachable-blade clipper — any length, bought one at a time
+Fits Andis, Oster A5 and Wahl KM bodies interchangeably
+Finish-cut (FC) and skip-tooth variants of the same number let you choose bite versus smoothness
What it gets wrong
−Each blade is a separate purchase and they add up fast
−Blades dull and need sharpening or replacing — a running cost, not a one-off
−Blade numbers are counter-intuitive: the bigger the number, the shorter the cut
Who should skip itSkip these if your clipper takes a 5-in-1 adjustable blade — they will not fit it.
Three of the eight steps above are brushing, and they are the steps that decide the result. A slicker with flexible, properly finished pins gets the coat tangle-free without scratching skin, which keeps your dog willing to stand for the rest of it. Pair it with a steel comb — the comb is how you find out whether the brushing worked.
Tangle removal9.0
Comfort for the dog9.0
Reach to the skin9.0
Build quality8.5
Value7.0
Overall8.5 / 10
What it gets right
+Pin density is the whole product: more pins means fewer passes through a curly coat
+The pins are long enough to reach skin on a doodle, which is where matting starts
+This is the brush that makes line brushing a doodle actually feasible
What it gets wrong
−Expensive for a brush, by a wide margin
−Dense pin bed is harder to clean out than a self-cleaning slicker
−Overkill on a short coat
Who should skip itSkip it if your dog has a short or smooth coat — you will never use the pin density you paid for.
#adHow we earn · We never print a price we cannot verify
FAQ
Questions people actually ask
+−How long does a first home groom take?
Budget two hours for a medium doodle, including the bath and drying, and expect your first one to take longer than that. It gets much faster — most of the time saving comes from the dog learning the routine rather than from your technique improving.
+−Should I clip or bathe first?
Bathe first, always, then dry completely. A dirty coat destroys blades and gives a poor finish. The only exception is a heavily matted coat, where a groomer may clip the mat off before bathing — because water tightens mats.
+−My dog will not stand still. What now?
Shorten the sessions radically — five minutes, then stop with something good happening. Build up over a week or two. A table with an arm removes most of the problem by removing the dog’s choice to wander, and how to use a grooming table covers introducing it.
+−How do I avoid nicking the skin?
Keep the blade flat rather than tipped on its corner, and flatten loose skin with your free hand before the blade reaches it — armpits, flanks and sanitary areas are where skin folds and where nicks happen. Go slowly in those places and use a trimmer where a body blade is too wide.
How this page was put together
We define the coat problem the tool has to solve, shortlist products currently sold, compare the manufacturers’ documented specifications against what that coat actually needs, and cross-check against published findings from named sources. We do not test these tools on our own dogs under controlled conditions, and we will not say we do. Where a figure comes from a manufacturer, we name them; where it comes from someone else’s testing, we cite them. We print no prices — a stale number is worse than none. Read the full method.